Flask, Part 2
In the Flask intro, you saw a very simple Flask app in action. Let’s step it up a little.
Code for this chapter is here.
Your second Flask app
The following script demonstrates the use of a variable in a Flask route. The function can employ the value of this variable in many ways. Here, the value will simply appear in the browser window as part of a string.
1 2 3 4 5 6 7 8 9 10 11 12 13 14 15 16 17 18 19 20 21 22 23 24 25 26 | """basic Flask app - demo of using a variable in a route"""
from flask import Flask
app = Flask(__name__)
@app.route('/')
def hello():
greet = '<h1>Hello, Gators!</h1>'
link = '<p><a href="user/Albert">Click me!</a></p>'
return greet + link
@app.route('/user/<name>')
def user(name):
    personal = f'<h1>Hello, {name}!</h1>'
    # above - the curly braces {} hold a variable; when this runs,
    # the value will replace the braces and the variable name
    instruc = '<p>Change the name in the <em>browser address bar</em> \
        and reload the page.</p>'
    return personal + instruc
if __name__ == '__main__':
app.run(debug=True)
# app.run(host='0.0.0.0', port=4999, debug=True)
# if you need to avoid using port 5000 - some Mac users -
# delete the first app.run() line above and
# un-comment the second app.run() line. Then use localhost:4999
|
We have two routes in the script. The first route, for '/', is not very different from our first Flask app. The second route, for '/user/<name>', is doing something new.
Note
Because of the final two lines in this script, you will run this file in exactly the same way you’ve run every other .py file in a virtual environment:
python hello3.py
Do not use flask run to run this script. That is not necessary, thanks to lines 20 and 21. Do not use export FLASK_APP or set FLASK_APP either. The app.run() command in the script above replaces those.
When we go to localhost:5000 in the browser, the following code from the Python script (in line 8 above) creates a functional link in the browser window:
<p><a href="user/Albert">Click me!</a></p>
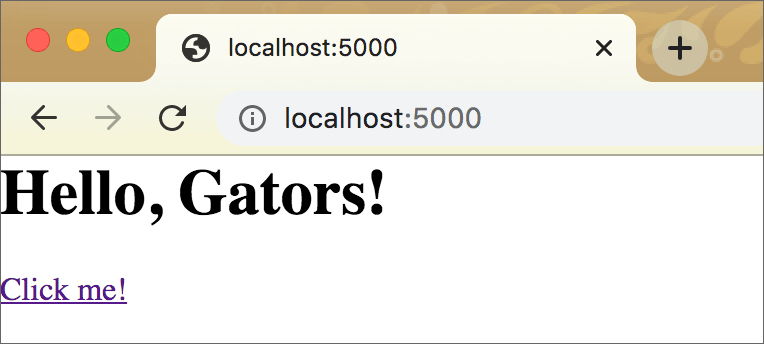
When you click the link, the second route in hello3.py is called. That is, the relative URL user/Albert is sent to the server as an HTTP request. But note — and this is a key point — the relative URL in the HTML is href="user/Albert" and yet the Flask route says:
@app.route('/user/<name>')
What you should understand about Flask right now is that we are able to pass in changeable values using the URL.
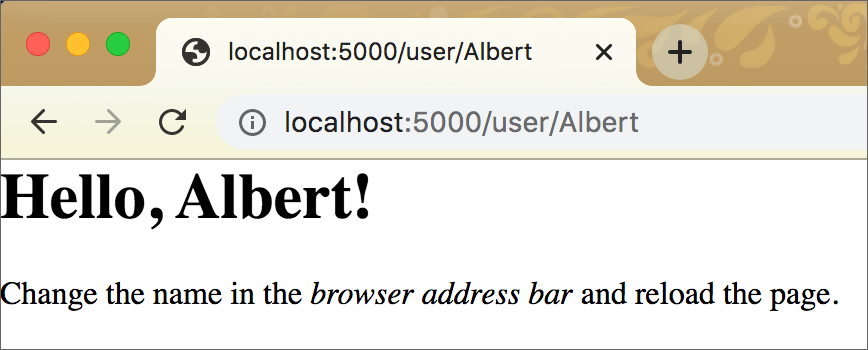
To test this, change the text that comes after /user/ in the browser address bar, and press Enter or Return.
Look at the URL in the browser address bar, and look at the text in the browser window.
If you enter the URL without a value for name — e.g. localhost:5000/user/ — you’ll get an HTTP error: “The requested URL was not found on the server.”
Review the route function that makes it happen:
@app.route('/user/<name>')
def user(name):
personal = f'<h1>Hello, {name}!</h1>'
# above - the curly braces {} hold a variable; when this runs,
# the value will replace the braces and the variable name
instruc = '<p>Change the name in the <em>browser address bar</em> \
and reload the page.</p>'
return personal + instruc
This route requires some value after user/. Whatever that value might be, it becomes the value of name in the function. Here, name appears only once within the function, but it could be used multiple times.
Only a string is returned by this function, so that string will appear in the browser window.
The string that is returned by this function is the HTTP response from the server. Keep in mind that the Python script runs on the server.
Note
Possibly the use of string formatters above is new to you. They are similar to template literals in JavaScript.
personal = f'<h1>Hello, {name}!</h1>'
The result of that line is equivalent to this string concatenation:
personal = '<h1>Hello, ' + name + '!</h1>'
Putting Flask to work with an API
The next script will demonstrate how Flask can be used to send an API request, and then use the response in a formatted string. This is more useful than the previous example script — but the same idea of the variable in the route is used.
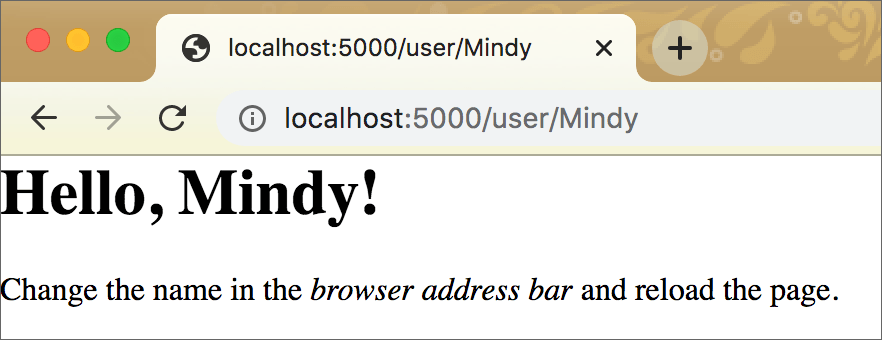
In the previous script, we used <name> in the route and name in the function to write Albert and then Mindy. In the next script, we will use <zip> in the route and zip in the function to submit a U.S. zip code to the OpenWeather API (the request). The response (in the browser) will tell us the current weather at that location.
The OpenWeather API
To use this script for yourself, you will need to get an API key at OpenWeather (it’s free). Do not allow your API key to be seen by others. I am not sharing my real API key here.
Note
See the configparser chapter for details about using a .cfg file to store all your API keys. You don’t need to do this to make the script below work, but make sure you do not publish that version with your actual API key in the code, e.g. on GitHub.
Here is everything you need to know about the OpenWeather API.
We will use the OpenWeather zip code query.
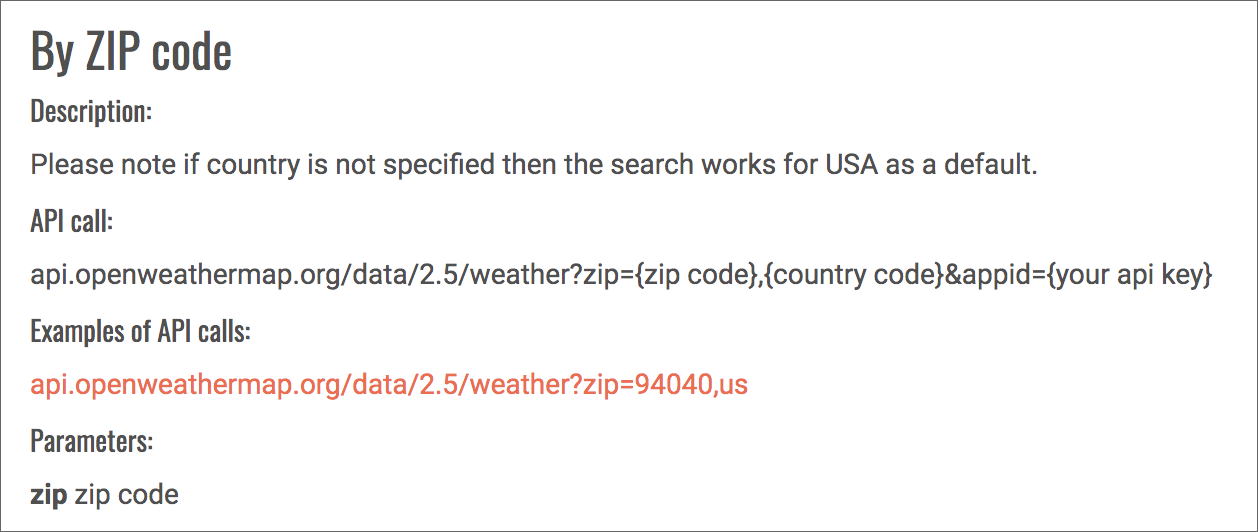
A request to an API can be submitted in a web browser. Below is the request, or query (not using a real API key):
http://api.openweathermap.org/data/2.5/weather?zip=32611,us&mode=json&units=imperial&appid=12345abcXYZ
In the URL above, you can see I submitted the zip code 32611, JSON as the mode (for the response), and imperial (for temperature in Fahrenheit). The pattern of the URL is shown on the OpenWeather API page.
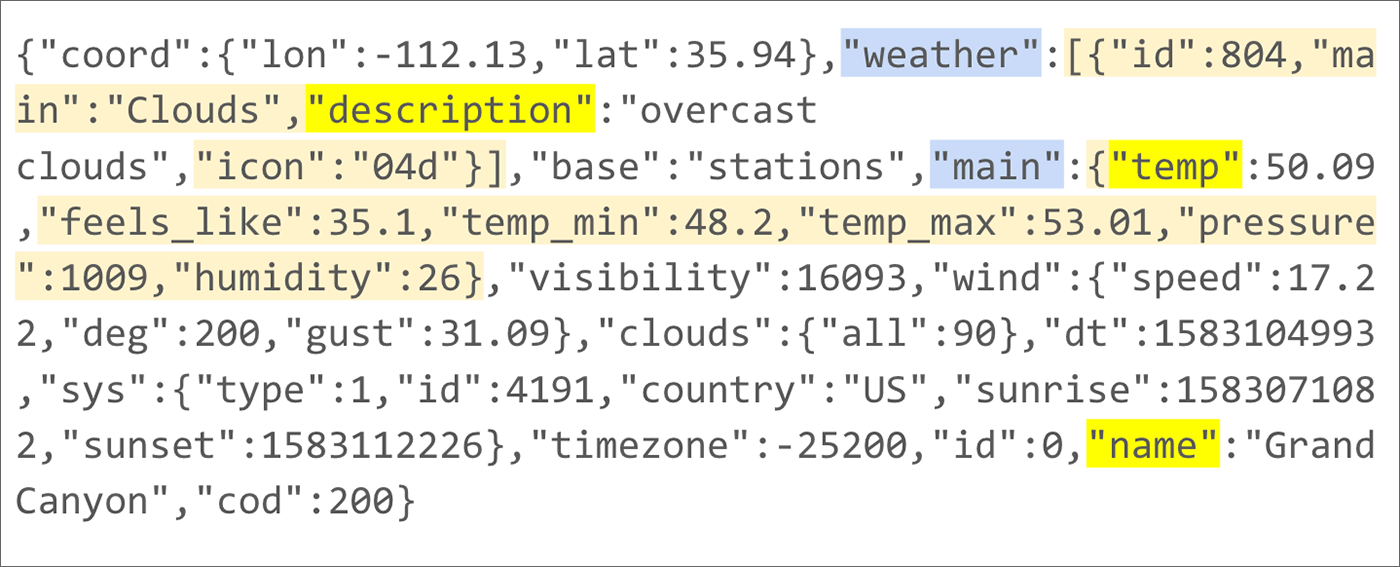
This is the response from the OpenWeather API, in a browser:
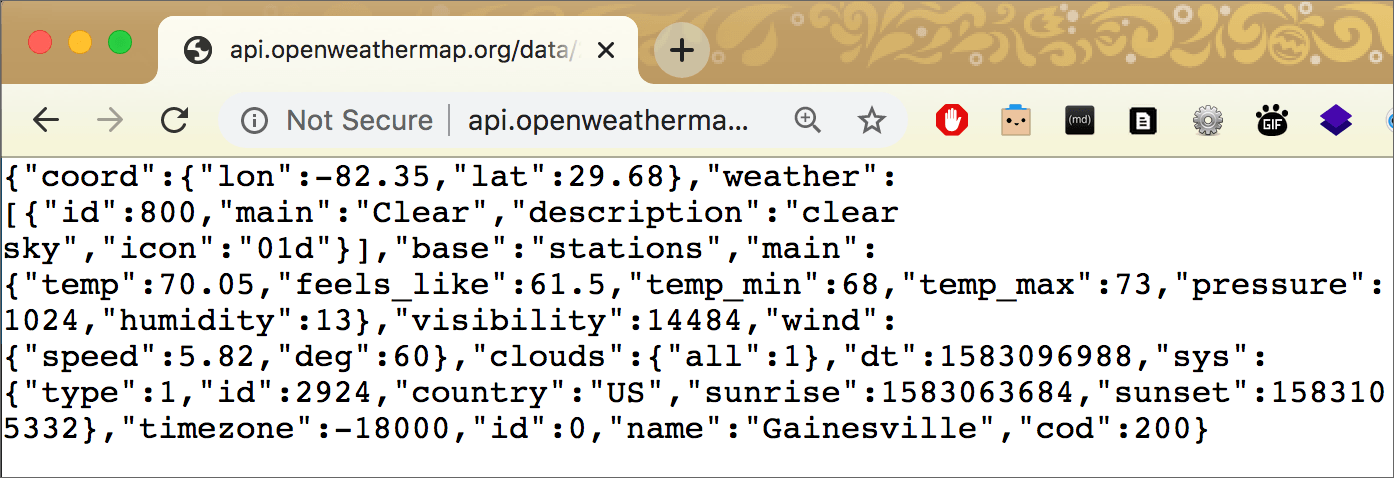
Like most APIs, the OpenWeather API returns a response in a JSON-formatted string. (You can opt to get it in other formats.) In the response, you can find the name (Gainesville), the temp (70.05), and the description (clear sky). Those keys and values will be used in the Python script weather.py below.
Using Flask to get a response
After creating a Flask script (weather.py) to query the OpenWeather API and write a more readable string into the browser, I ran the script on a February day:
python weather.py
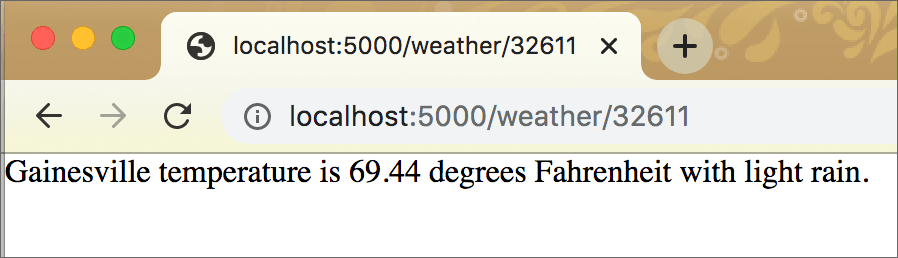
In the browser, I typed three different URLs as shown below.
The zip code 32611 is for Gainesville, Florida.
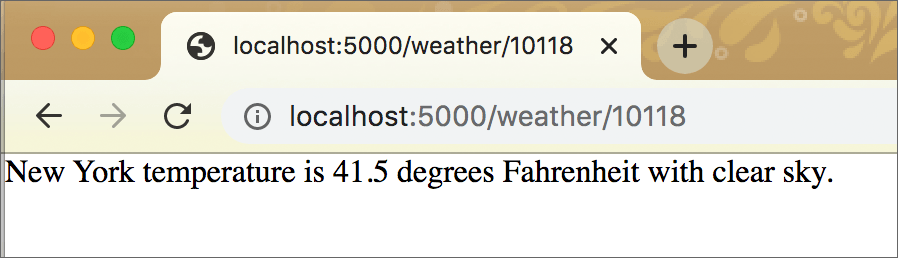
The zip code 10118 is for New York City.
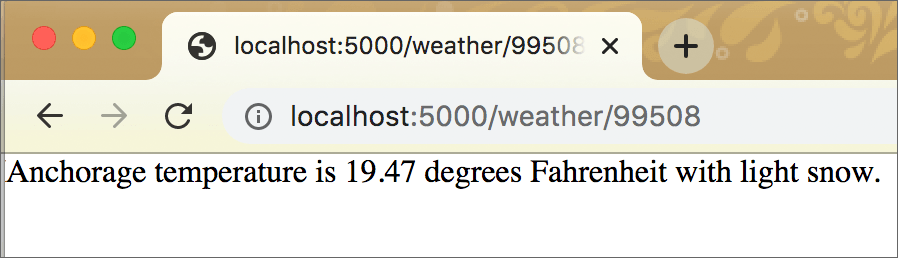
The zip code 99508 is for Anchorage, Alaska.
The weather script
1 2 3 4 5 6 7 8 9 10 11 12 13 14 15 16 17 18 19 20 21 22 23 24 25 26 27 28 29 30 31 32 33 34 35 36 37 38 39 | """a demo Flask app to access an API
the idea for this example came from:
https://medium.com/free-code-camp/how-to-build-a-web-app-using-pythons-flask-and-google-app-engine-52b1bb82b221
"""
import requests
from flask import Flask
app = Flask(__name__)
# this is not a real key
API_KEY = '12345abcXYZ'
# get weather by U.S. zip code
API_URL = ('http://api.openweathermap.org/data/2.5/weather?zip={},us&mode=json&units=imperial&appid={}')
def query_api(zip):
"""submit the API query using variables for zip and API_KEY"""
try:
# print(API_URL.format(zip, API_KEY))
data = requests.get(API_URL.format(zip, API_KEY)).json()
except Exception as exc:
print(exc)
data = None
return data
@app.route('/weather/<zip>')
def result(zip):
# get the json file from the OpenWeather API
resp = query_api(zip)
# construct a string using the json data items for temp and
# description
try:
text = resp["name"] + " temperature is " + str(resp["main"]["temp"]) + " degrees Fahrenheit with " + resp["weather"][0]["description"] + "."
except:
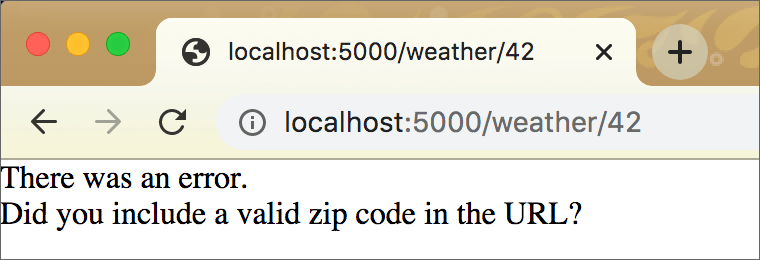
text = "There was an error.<br>Did you include a valid U.S. zip code in the URL?"
return text
if __name__ == '__main__':
app.run(debug=True)
|
Line 6: We import the requests module so that we can use requests.get() to submit the API request (on line 20).
Lines 7–8: These were covered in the Flask intro.
Line 11: Provide the API key that will be used in code below this line. (Uppercase letters are used for the variable name to denote a constant; see PEP 8).
Line 14: The API call — the URL for the request. Note how curly braces are used at two locations in this string: zip={},us and appid={}. The curly braces allow a variable or a value to be inserted (on line 20).
Line 16: The start of a function that is not a Flask route function. This just provides a simple way to make the API request and return the response — separately from the route. The zip code will be supplied when this function is called.
Line 20: Using the variables API_URL and API_KEY (from lines 14 and 11), as well as the submitted zip code (covered below), the API request is constructed — API_URL.format(zip, API_KEY) — and passed into requests.get(). Tacking .json() on the end will raise an exception if JSON decoding fails (details).
data = requests.get(API_URL.format(zip, API_KEY)).json()
For details on this use of .format() to plug values into the curly braces in API_URL, see this post. The values inside the parentheses — zip, API_KEY — are inserted into the curly braces embedded in the string assigned to API_URL, in order. So zip goes into the first pair of curly braces, and API_KEY goes into the second pair.
Line 26: The Flask route begins here. This script has only ONE route. When the app is running, the server accepts a URL like this:
http://localhost:5000/weather/86023
A response will be returned by the API if any value appears after weather/.
Line 29: The function query_api() is called here, with the value of zip from the URL passed to it. Review that function to see that it makes the request to the API and accepts the response from the API. The result is returned and here, in the route function, is assigned to the variable resp:
resp = query_api(zip)
Line 33: Python reads the contents of resp as a dictionary. There are three values we want to extract:
the name (location name),
the temp (current temperature, in Fahrenheit), and
the description (e.g., “clear sky”).
text = resp["name"] + " temperature is " + str(resp["main"]["temp"]) + " degrees Fahrenheit with " + resp["weather"][0]["description"] + "."
We access those values using keys from the JSON data returned by the OpenWeather API:
["name"]is a key in the primary dictionary.["temp"]is a key inside a dictionary that is the value of the key["main"]in the primary dictionary. We need to convert it to a string because the number is a float, and we cannot concatenate a float into a string unless we convert it to a string withstr().["description"]is a key in the first list item inside the list that is the value of the key["weather"]in the primary dictionary.
Above is what the API returns to the browser (not using the Flask app).
If you need some help to understand Python dictionaries, see Dictionaries.
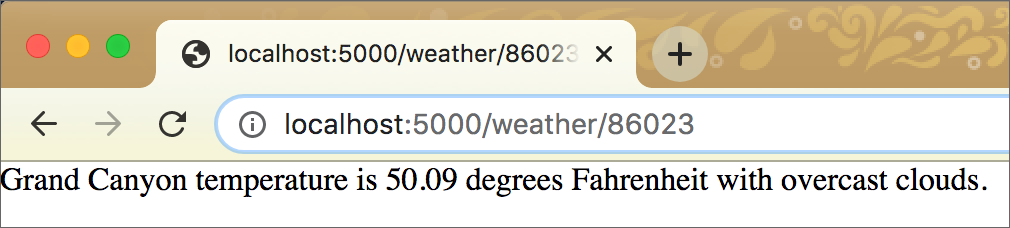
Above is what the Flask app returns, as a string, to the browser. Below is the code that writes it.
text = resp["name"] + " temperature is " + str(resp["main"]["temp"]) + " degrees Fahrenheit with " + resp["weather"][0]["description"] + "."
Lines 34–35: If for any reason the previous code throws an error, the except clause will be executed and the response in the browser will be:
Summary of the Flask weather app
The API and its request/response details might seem overwhelming if you have not worked with APIs before now.
A good tutorial for learning how to use APIs is the MediaWiki tutorial, which teaches how to query Wikipedia.
The most important takeaways at this stage are:
The Flask app runs on a server.
A Flask route defines a partial URL.
A URL entered into a web browser sends an HTTP request to a server.
When the URL defined in a Flask route is delivered to that Flask app on the server, a Python function runs. Which function? The function associated with that URL in the app script.
A value can be part of the URL if the Flask route is written to accept a value, e.g.
@app.route('/weather/<zip>')
That is NOT the only way to write a route. The route does not need to accept a value; it is optional.
By default, if the app returns text, that text will appear in the browser window. What the route function returns is the HTTP response. (It can be something other than text.)
A Flask app can include one, or more than one, route.
A route function can call other functions. This is demonstrated in the weather app above.
A Flask app can use an external API. This is optional, not required.
Conclusion
You should be starting to glimpse the potential of using Flask to create dynamic web apps.
Maybe you are wondering how to combine Flask with attractive, responsive web pages in the browser, instead of ugly plaintext.
That’s the topic of the next chapter! See Flask Templates.
.