Web Scraping Intro
The code for this chapter is here.
This document assumes you have already installed Python 3, and you have used both pip and venv. If not, refer to these instructions.
Sweigart briefly covers scraping in chapter 12 of Automate the Boring Stuff with Python (second edition).
This chapter here and the two following chapters provide additional context and examples for beginners.
BeautifulSoup documentation:
Setup for BeautifulSoup
BeautifulSoup is a scraping library for Python. We want to run all our scraping projects in a virtual environment, so we will set that up first. (Students have already installed Python 3.)
Create a directory and change into it
The first step is to create a new folder (directory) for all your scraping projects. Mine is:
Documents/python/scraping
Do not use any spaces in your folder names. If you must use punctuation, do not use anything other than an underscore _. It’s best if you use only lowercase letters.
Change into that directory. For me, the command would be:
cd Documents/python/scraping
Create a new virtualenv in that directory and activate it
Create a new virtual environment there (this is done only once).
MacOS:
python3 -m venv env
Windows:
python -m venv env
Activate the virtual environment:
MacOS:
source env/bin/activate
Windows:
env\Scripts\activate.bat
Important: You should now see (env) at the far left side of your prompt. This indicates that the virtual environment is active. For example (MacOS):
(env) mcadams scraping $
When you are finished working in a virtual environment, you should deactivate it. The command is the same in MacOS or Windows (DO NOT DO THIS NOW):
deactivate
You’ll know it worked because (env) will no longer be at the far left side of your prompt.
Install the BeautifulSoup library
In MacOS or Windows, at the command prompt, type:
pip install beautifulsoup4
This is how you install any Python library that exists in the Python Package Index. Pretty handy. pip is a tool for installing Python packages, which is what you just did.
Note
You have installed BeautifulSoup in the Python virtual environment that is currently active. When that virtual environment is not active, BeautifulSoup will not be available to you. This is ideal, because you will create different virtual environments for different Python projects, and you won’t need to worry about updated libraries in the future breaking your (past) code.
Test BeautifulSoup
Start Python. Because you are already in a Python 3 virtual environment, Mac users need only type python (NOT python3). Windows users also type python as usual.
You should now be at the >>> prompt — the Python interactive shell prompt.
In MacOS or Windows, type (or copy/paste) one line at a time:
from urllib.request import urlopen
from bs4 import BeautifulSoup
page = urlopen("https://weimergeeks.com/examples/scraping/example1.html")
soup = BeautifulSoup(page, "html.parser")
print(soup.h1)
You imported two Python modules,
urlopenandBeautifulSoup(the first two lines).You used
urlopento copy the entire contents of the URL given into a new Python variable,page(line 3).You used the
BeautifulSoupfunction to process the value of that variable (the plain-text contents of the file at that URL) through a built-in HTML parser calledhtml.parser.The result: All the HTML from the file is now in a BeautifulSoup object with the new Python variable name
soup. (It is just a variable name.)Last line: Using the syntax of the BeautifulSoup library, you printed the first
h1element (including its tags) from that parsed value.
If it works, you’ll see:
<h1>We Are Learning About Web Scraping!</h1>
Check out the page on the web to see what you scraped.
Attention
If you got an error about SSL, quit Python (quit() or Command-D) and COPY/PASTE this at the command prompt (MacOS only):
/Applications/Python\ 3.11/Install\ Certificates.command
Then return to the Python prompt and retry the five lines above.
The command soup.h1 would work the same way for any HTML tag (if it exists in the file). Instead of printing it, you might stash it in a variable:
heading = soup.h1
Then, to see the text in the element without the tags:
print(heading.text)
Understanding BeautifulSoup
BeautifulSoup is a Python library that enables us to extract information from web pages and even entire websites.
We use BeautifulSoup commands to create a well-structured data object (more about objects below) from which we can extract, for example, everything with an <li> tag, or everything with class="book-title".
After extracting the desired information, we can use other Python commands (and libraries) to write the data into a database, CSV file, or other usable format — and then we can search it, sort it, etc.
What is the BeautifulSoup object?
It’s important to understand that many of the BeautifulSoup commands work on an object, which is not the same as a simple string.
Many programming languages include objects as a data type. Python does, JavaScript does, etc. An object is an even more powerful and complex data type than an array (JavaScript) or a list (Python) and can contain many other data types in a structured format.
When you extract information from an object with a BeautifulSoup command, sometimes you get a single Tag object, and sometimes you get a Python list (similar to an array in JavaScript) of Tag objects. The way you treat that extracted information will be different depending on whether it is one item or a list (usually, but not always, containing more than one item).
That last paragraph is REALLY IMPORTANT, so read it again. For example, you cannot call .text on a list. You’ll see an error if you try it.
How BeautifulSoup handles the object
In the previous code, when this line ran:
page = urlopen("https://weimergeeks.com/examples/scraping/example1.html")
… you copied the entire contents of a file into a new Python variable named page. The contents were stored as an HTTPResponse object. We can read the contents of that object like this:
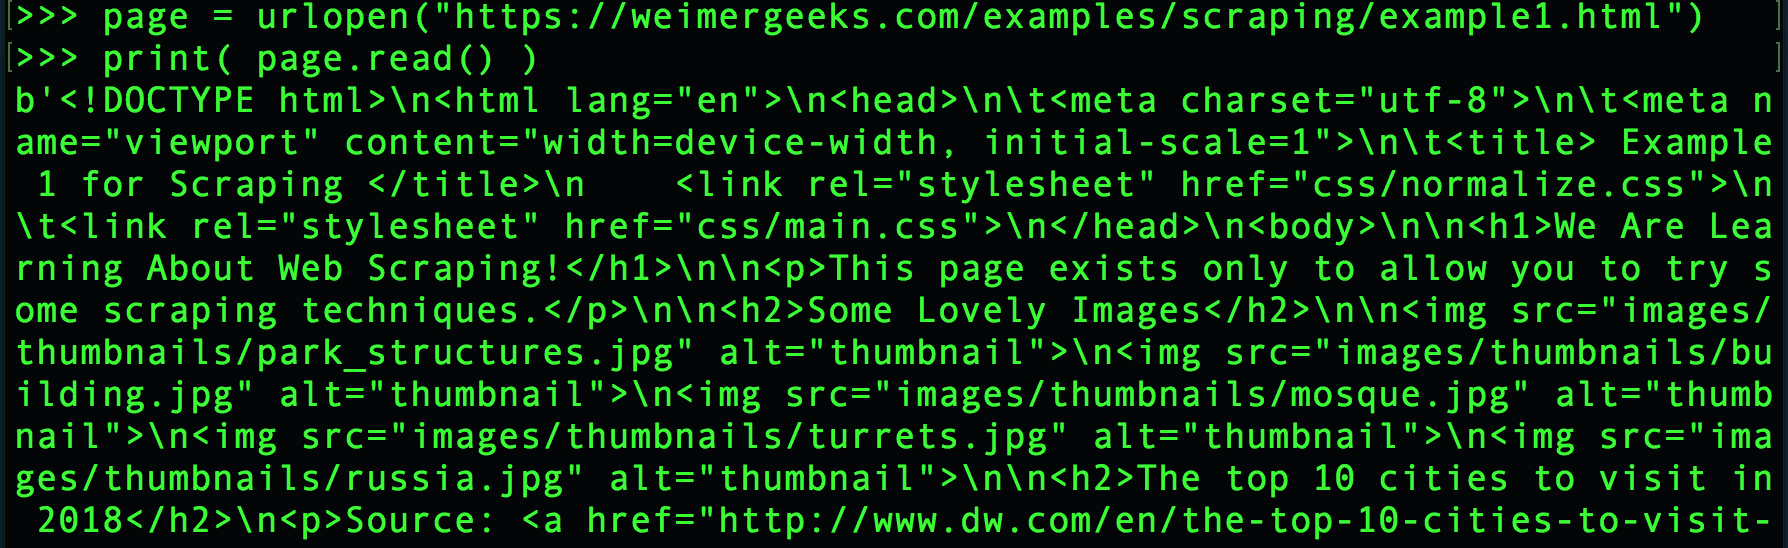
… but that’s not going to be very usable, or useful — especially for a file with a lot more content in it.
When you transform that HTTPResponse object into a BeautifulSoup object — with the following line — you create a well-structured object from which you can extract any HTML element and the text and/or attributes within any HTML element.
soup = BeautifulSoup(page, "html.parser")
Some basic BeautifulSoup commands
Let’s look at a few examples of what BeautifulSoup can do.
Finding elements that have a particular class
Deciding the best way to extract what you want from a large HTML file requires you to dig around in the source, using Developer Tools, before you write the Python/BeautifulSoup commands. In many cases, you’ll see that everything you want has the same CSS class on it. After creating a BeautifulSoup object (here, as before, it is soup), this line will create a Python list containing all the <td> elements that have the class city.
city_list = soup.find_all( "td", class_="city" )
Attention
The word class is a reserved word in Python. Using class (alone) in the code above would give you a syntax error. So when we search by CSS class with BeautifulSoup, we use the keyword argument class_ — note the added underscore. Other HTML attributes DO NOT need the underscore.
Maybe there were 10 cities in <td> tags in that HTML file. Maybe there were 10,000. No matter how many, they are now in a list (assigned to the variable city_list), and you can search them, print them, write them out to a database or a JSON file — whatever you like — using regular Python commands. Often you will want to perform the same actions on each item in the list, so you will use a normal Python for-loop:
for city in city_list:
    print( city.get_text() )
.get_text() is a handy BeautifulSoup method that will extract the text — and only the text — from the Tag object. If instead you wrote just print(city), you’d get the complete <td> — and any other tags inside that as well.
Note
The BeautifulSoup methods .get_text() and .getText() are the same. The BeautifulSoup property .text is a shortcut to .get_text() and is acceptable unless you need to pass arguments to .get_text(). It’s fine to use .text in almost all cases.
Finding all vs. finding one
The BeautifulSoup find_all() method you just saw always produces a list. (Note: findAll() will also work.) If you know there will be only one item of the kind you want in a file, you should use the find() method instead.
For example, maybe you are scraping the address and phone number from every page in a large website. On the page we are currently using, there is only one phone number, and it is enclosed in a pair of tags with the attribute id="call". One line of your code gets the phone number from the current page:
phone_number = soup.find(id="call")
You don’t need to loop through that result — the variable phone_number will contain only one Tag object, for whichever HTML tag had that ID. To test what the text alone will look like, just print it using .text to strip out the tags.
print( phone_number.text )
Notice that you’re often using soup. Review above if you’ve forgotten where that came from. (You may use another variable name instead, but soup is the usual choice.)
Finding the contents of a particular attribute
One last example from the example page we have been using.
Say you’ve made a BeautifulSoup object from a page that has dozens of images on it. You want to capture the path to each image file on that page (perhaps so that you can download all the images). I would do this in two steps:
image_list = soup.find_all('img')
for image in image_list:
    print(image.attrs['src'])
First, you make a Python list containing all the
imgelements that exist in thesoupobject.Second, you loop through that list and print the contents of the
srcattribute from eachimgtag in the list.
It is possible to condense that code and do the task in two lines, or even one line, but for beginners it is clearer to get the list of elements and name it, then use the named list and get what is wanted from it.
Important
We do not need .text (or get_text()) in this case, because the contents of the src attribute (or any HTML attribute) are nothing but text. There are never tags inside the src attribute. So think about exactly what you’re trying to get, and what is it like inside the HTML of the page.
You can see the code from above all in one file.
There’s a lot more to learn about BeautifulSoup, and we’ll be working with various examples. You can always read the docs. Most of what we do with BeautifulSoup, though, involves these tasks:
Find everything with a particular class
Find everything with a particular attribute
Find everything with a particular HTML tag
Find one thing on a page, often using its
idattributeFind one thing that’s inside another thing
A BeautifulSoup scraping example
To demonstrate the process of thinking through a small scraping project, I made a Jupyter Notebook that shows how I broke down the problem step by step, and tested one thing at a time, to reach the solution I wanted. Open the notebook here on GitHub to follow along and see all the steps. (If that link doesn’t work, try this instead.)
The code in the final cell of the notebook produces this 51-line CSV file by scraping 10 separate web pages.
To run the notebook, you will need to have installed the Requests module and also Jupyter Notebook IN YOUR VIRTUAL ENVIRONMENT where you already have BeautifulSoup.
pip install requests
pip install jupyter
See these instructions for information about how to run Jupyter Notebooks.
View the code as a complete script outside the notebook.
Attention
After this introduction, you should NOT use from urllib.request import urlopen or the urlopen() function. Instead, you will use requests as demonstrated in the notebook linked above.
Next steps
In the next chapter, we’ll look at how to handle common web scraping projects with BeautifulSoup and Requests.
.